Laying on sand or gravel
The slabs can be laid dry by simply placing them in the desired position, without the need adhesives. This means the slabs are easily levelled out on top of the sand/gravel and are ready for use immediately afterwards. This allows users to change the paving at any time or reuse the same material several times, even in different locations. It is recommended to lay with a 2% slope to avoid water accumulation.
DRIVE-OVER
Drive-over for slabs with 3 and 6 cm (1.2" and 2.4") thickness
Installation
Example of laying on ground
- A) Slabs with Cross Spacer
- B) Sand/Gravel
- C) Non-woven fabric
- D) Drainage layer
- E) Soil
Example of laying on ground
- A) Slabs with Cross Spacer
- B) Ballast layer of sand/gravel
- C) Separation layer
- D) Thermal insulation element
- E) Vapour barrier
- F) Waterproof layer
- G) Sloping screed
- H) Floor
The proposed diagrams and indications are purely indicative of the type of application: please refer to the specific regulations in force in your country in order to lay the floor to the highest technical standards. It is recommended to lay with a 2% slope to avoid water accumulation.
ADVANTAGES
- Easy to install
- Draining surface
- Easy maintenance
- Inspectable
DESTINATIONS
- Driveways
- Garden, courtyard or patio
- Residential areas
- Commercial areas
- Terraces
Instructions:

1) Over the non-woven fabric or the separation layer, lay the sand/gravel (10/30 cm, 4”-12”). To give more stability can be added a binder.

2) Level the soil with the aid of a vibro compactor, to guarantee stability over the time. A slope of at least 2% is needed to ensure the right water drainage.

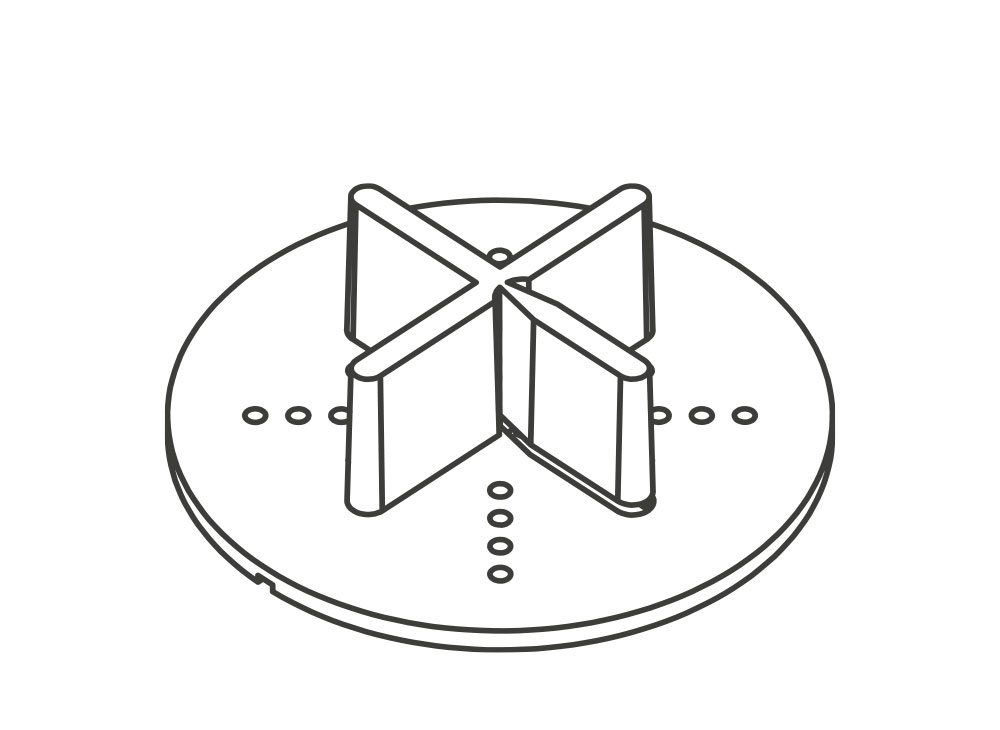
3) Lay the slabs with the aid of the Crocette cross spacers.

4) Use the rubber mallet to level the slabs.

5) Once the laying is complete, proceed with the grouting.
What you need:

Slabs

Level

Sand or gravel

Cement

Adhesive

Rubber mallet

Vibro compactor

Cross spacers
Laying
Example of laying on ground of STONE GRES Pavè
- A) Pavè
- B) Sand or gravel
- C) Screed with electrowelded mesh
- D) Roadbed
- E) Soil
The proposed diagrams and indications are purely indicative of the type of application: please refer to the specific regulations in force in your country in order to lay the floor to the highest technical standards. It is recommended to lay with a 2% slope to avoid water accumulation.
Instructions:

1) On the roadbed, make a screed with an electro-welded net of about 5 cm (2") thick and wait for its maturation.

2) Lay a layer of equal to or more than 2 cm (0.8") of sand or pea gravel mix.

3) Compact the sand or pea gravel with a special vibrating compacter plate.


